Excel spreadsheet bridging for MTD VAT
In 4 simple steps
Step - 1
To go to your MTD VAT excel spreadsheet bridging area, you will have to click on the "VAT Spreadsheets" link from the left side navigation area in your AccountsDesk account.
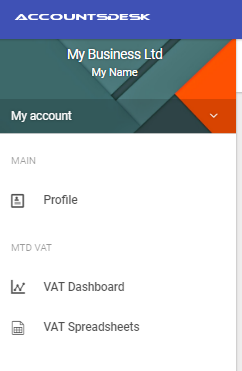
Clicking on the link will take you to the screen as shown below
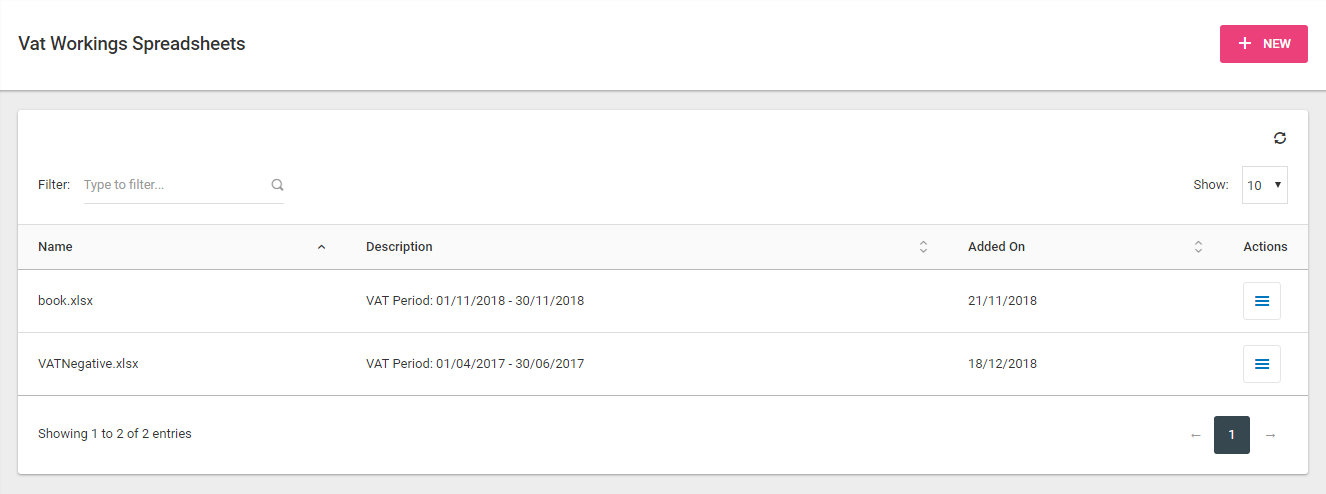
This is where you will upload you VAT workings excel spreadsheets, view your already uploaded sheets and manage the mapping between your VAT workings spreadsheets and VAT return obligations.
Step - 2
Click on the burger menu at the upper right corner and select add spreadsheet to start the process of bridging your spreadsheet with the VAT return period obligation.
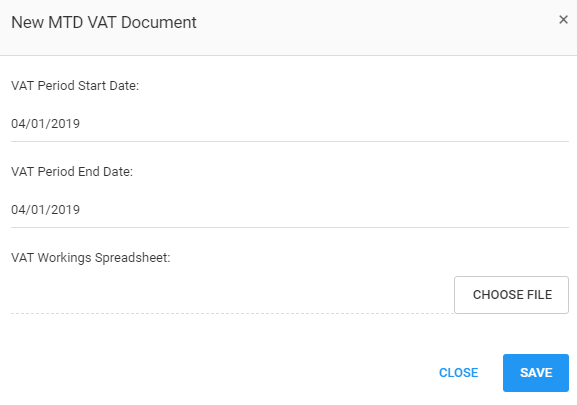
Clicking the button will show a popup as shown below
Step - 3
Enter the VAT period start date and VAT period end date corresponding to the VAT workings spreadsheet that you are planning to submit the VAT returns digitally and select the VAT workings spreadsheet from your computer to upload and click the "Upload" button.
Step - 4
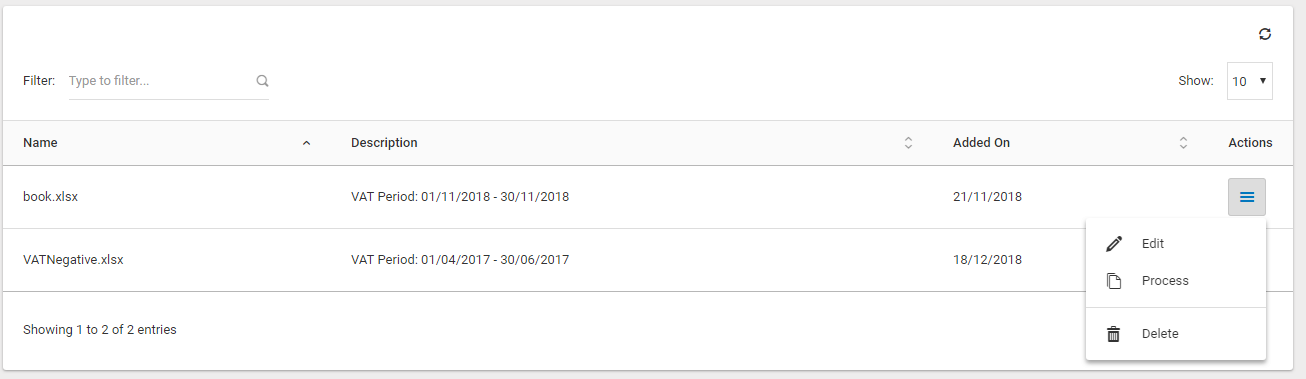
Clicking on the Upload button will upload your document and show it in the table. Select the Process menu item from the actions of this row. This will take you the new screen which will show your uploaded spreadsheet digitally. The page will have instructions on how to map your spreadsheet fields to the VAT 1 - 9 boxes.
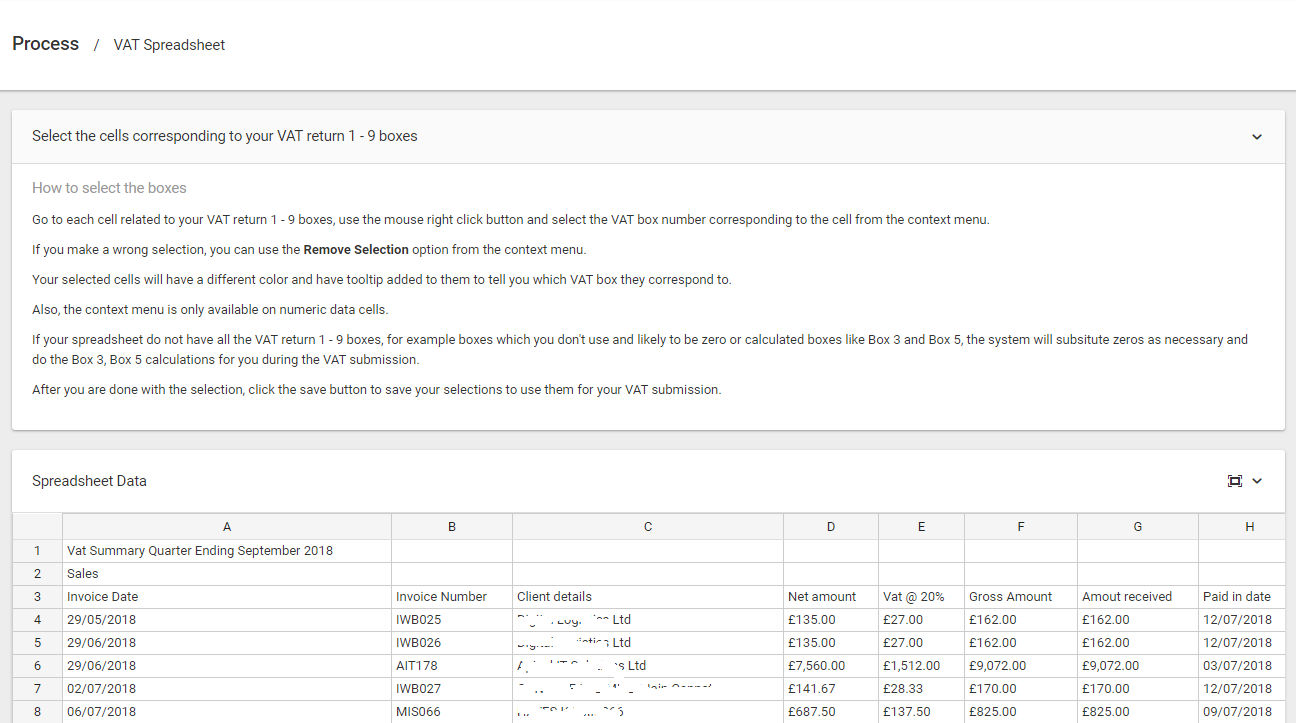
Using the digital spreadsheet displayed, go to each cell related to your VAT return 1 - 9 boxes, use the mouse right click button and select the VAT box number corresponding to the cell from the context menu.
If you make a wrong selection, you can use the Remove Selection by clicking the cancel icon on the corresponding VAT box from the right hand section.
Your selected cells will have a different color and have tooltip added to them to tell you which VAT box they correspond to.
Also, the context menu is only available on numeric data cells.
After you are done with the selection, click the Import VAT Data button to save your selections to use them for your VAT submission.
You have now successfully bridged your excel spreadsheet to MTD VAT and can send this data digitally to HMRC's making tax digital gateway from the MTD VAT dashboard.